CentOS 7.2安装Redis 5.0.3集群
CentOS 7.2安装Redis 5.0.3集群
1. 安装redis 5.0(参考install_Redis5.0.3.md)
2. 创建redis-cluster目录,方便管理我们创建的redis实例,复制之前安装好的redis为redis01
[root@VM_0_5_centos redis]# mkdir redis-cluster |
3. 修改redis01的配置文件
[root@VM_0_5_centos redis]# cd redis-cluster/redis01/ |
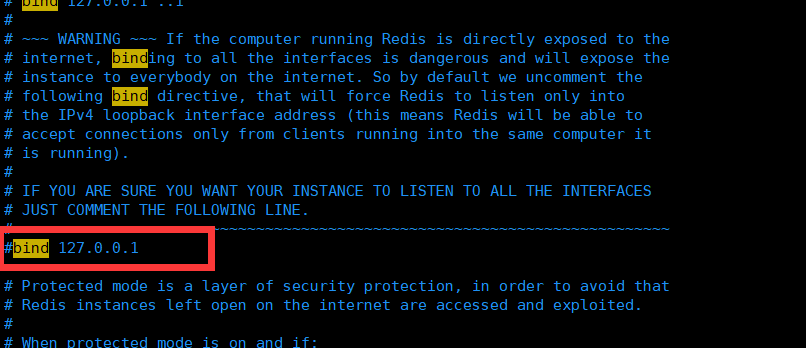
4. 把 bind 127.0.0.1 给注释掉或者改为0.0.0.0,这里的bind指的是只有指定的网段才能远程访问这个redis
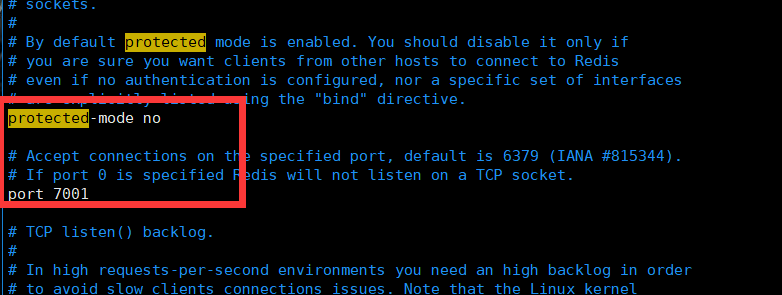
5. 开启远程访问 protected-mode no 和 修改端口 port 7001
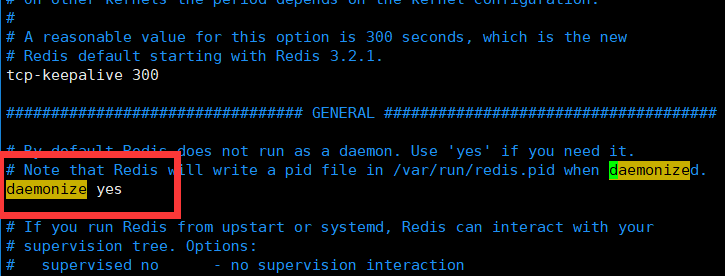
6. 设置后台运行 daemonize yes
7. 设置pidfile存放在 run目录下的文件名 pidfile /var/run/redis_7001.pid

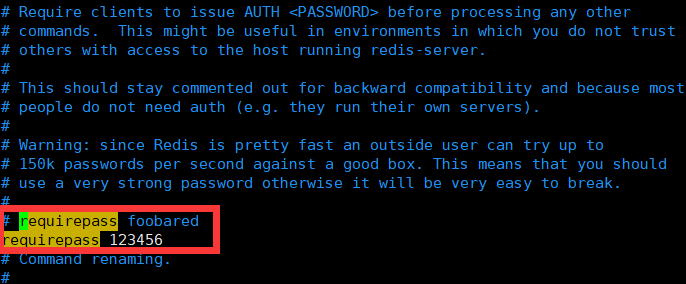
8. 设置redis集群密码 masterauth 123456 和 requirepass 123456 注意:所有节点的密码都必须一致,masterauth也要加

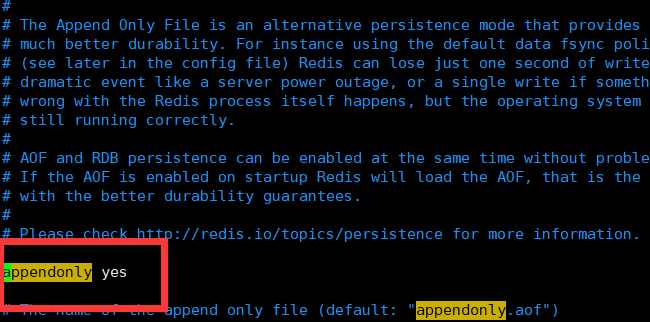
9. 设置开启AOF模式 appendonly yes
10. 设置启用集群模式 cluster-enabled yes,开启配置文件cluster-config-file nodes.conf ,超时时间 cluster-node-timeout 5000

11. 配置好后,拷贝 redis01再创建五个redis实例

12. 修改redis02~06的配置文件,修改端口号,修改pidfile存放文件名
[root@VM_0_5_centos redis-cluster]# vim redis02/redis.conf |
13. 在redis-cluster目录下,编写redis_start_all.sh启动脚本,启动redis实例

14. 刚创建好的启动脚本没有权限,会提示Permission denied,所以需要给脚本添加可执行权限

权限部分说明
含义
u 代表所有者(user)
g 代表所有者所在的组群(group)
o 代表其他用户(other)
a 代表全部的人(u、g、o)r 表示文件可读(read)
w 表示文件可写(write)
x 表示文件可执行(是程序)
– 表示相应的权限为空+ 表示添加权限
– 表示删除权限
= 表示使之成为唯一的权限数字表示
0代表—
1代表–x
2代表-w-
3代表-wx
4代表r–
5代表r-x
6代表rw-
7代表rwx-rw——- (600) 只有所有者才有读和写的权限
-rw-r–r– (644) 只有所有者才有读和写的权限,组群和其他用户只有读的权限
-rwx—— (700) 只有所有者才有读,写,执行的权限
-rwxr-xr-x (755) 只有所有者才有读,写,执行的权限,组群和其他用户只有读和执行的权限
-rwx–x–x (711) 只有所有者才有读,写,执行的权限,组群和其用户只有执行的权限
-rw-rw-rw- (666) 每个人都有读写的权限
-rwxrwxrwx (777) 每个人都有读写和执行的权限
15. 启动redis集群
[root@VM_0_5_centos redis-cluster]# ./redis_cluster_start_all.sh |

16. 复进入到redis01/bin/ 目录下,拷贝一份 redis-cli 到 redis-cluster/ 目录下
[root@VM_0_5_centos src]# cp redis-cli /usr/local/redis/redis-cluster/ |
17. 创建redis集群
[root@VM_0_5_centos redis-cluster]# ./redis-cli --cluster create 118.25.24.23:7001 118.25.24.23:7002 118.25.24.23:7003 118.25.24.23:7004 118.25.24.23:7005 118.25.24.23:7006 --cluster-replicas 1 -a 123456 |
18. 在redis-cluster目录下,编写redis_cluster_stop_all.sh关闭脚本

19. 给redis_cluster_stop_all.sh脚本添加可执行权限(参考11点给启动脚本添加权限)
[root@VM_0_5_centos redis-cluster]# ll | grep redis_cluster_stop_all.sh |

20. 执行停止脚本

21. java使用jedis连接集群
- pom.xml中引入相关jar包
<dependency>
<groupId>org.springframework.boot</groupId>
<artifactId>spring-boot-starter-data-redis</artifactId>
<version>2.1.1.RELEASE</version>
</dependency>
<!-- https://mvnrepository.com/artifact/redis.clients/jedis -->
<dependency>
<groupId>redis.clients</groupId>
<artifactId>jedis</artifactId>
<version>3.0.1</version>
</dependency>
- 配置文件中添加集群节点信息
redis:
cluster:
nodes: 118.25.24.23:7001,118.25.24.23:7002,118.25.24.23:7003,118.25.24.23:7004,118.25.24.23:7005,118.25.24.23:7006
- 编写redis配置类
import org.springframework.beans.factory.annotation.Value;
import org.springframework.context.annotation.Bean;
import org.springframework.context.annotation.Configuration;
import redis.clients.jedis.HostAndPort;
import redis.clients.jedis.JedisCluster;
import redis.clients.jedis.JedisPoolConfig;
import java.util.HashSet;
import java.util.Set;
/**
* 〈redis集群配置〉
*
* @author Joey
* @create 2019-01-14
* @since 1.0.0
*/
public class RedisConfig {
private String redisNodes;
public JedisCluster getJedisCluster(){
Set<HostAndPort> nodes = new HashSet<>();
try {
String[] redisnodes = redisNodes.split(",");
for (String node:redisnodes){
String[] arr = node.split(":");
HostAndPort hostAndPort = new HostAndPort(arr[0], Integer.parseInt(arr[1]));
nodes.add(hostAndPort);
}
}
catch (Exception e){
System.out.println("集群节点配置有误");
}
JedisPoolConfig jedisPoolConfig = new JedisPoolConfig();
//配置password否则会报权限错误
JedisCluster cluster = new JedisCluster(nodes,0,0,500,"123456",jedisPoolConfig);
return cluster;
}
}
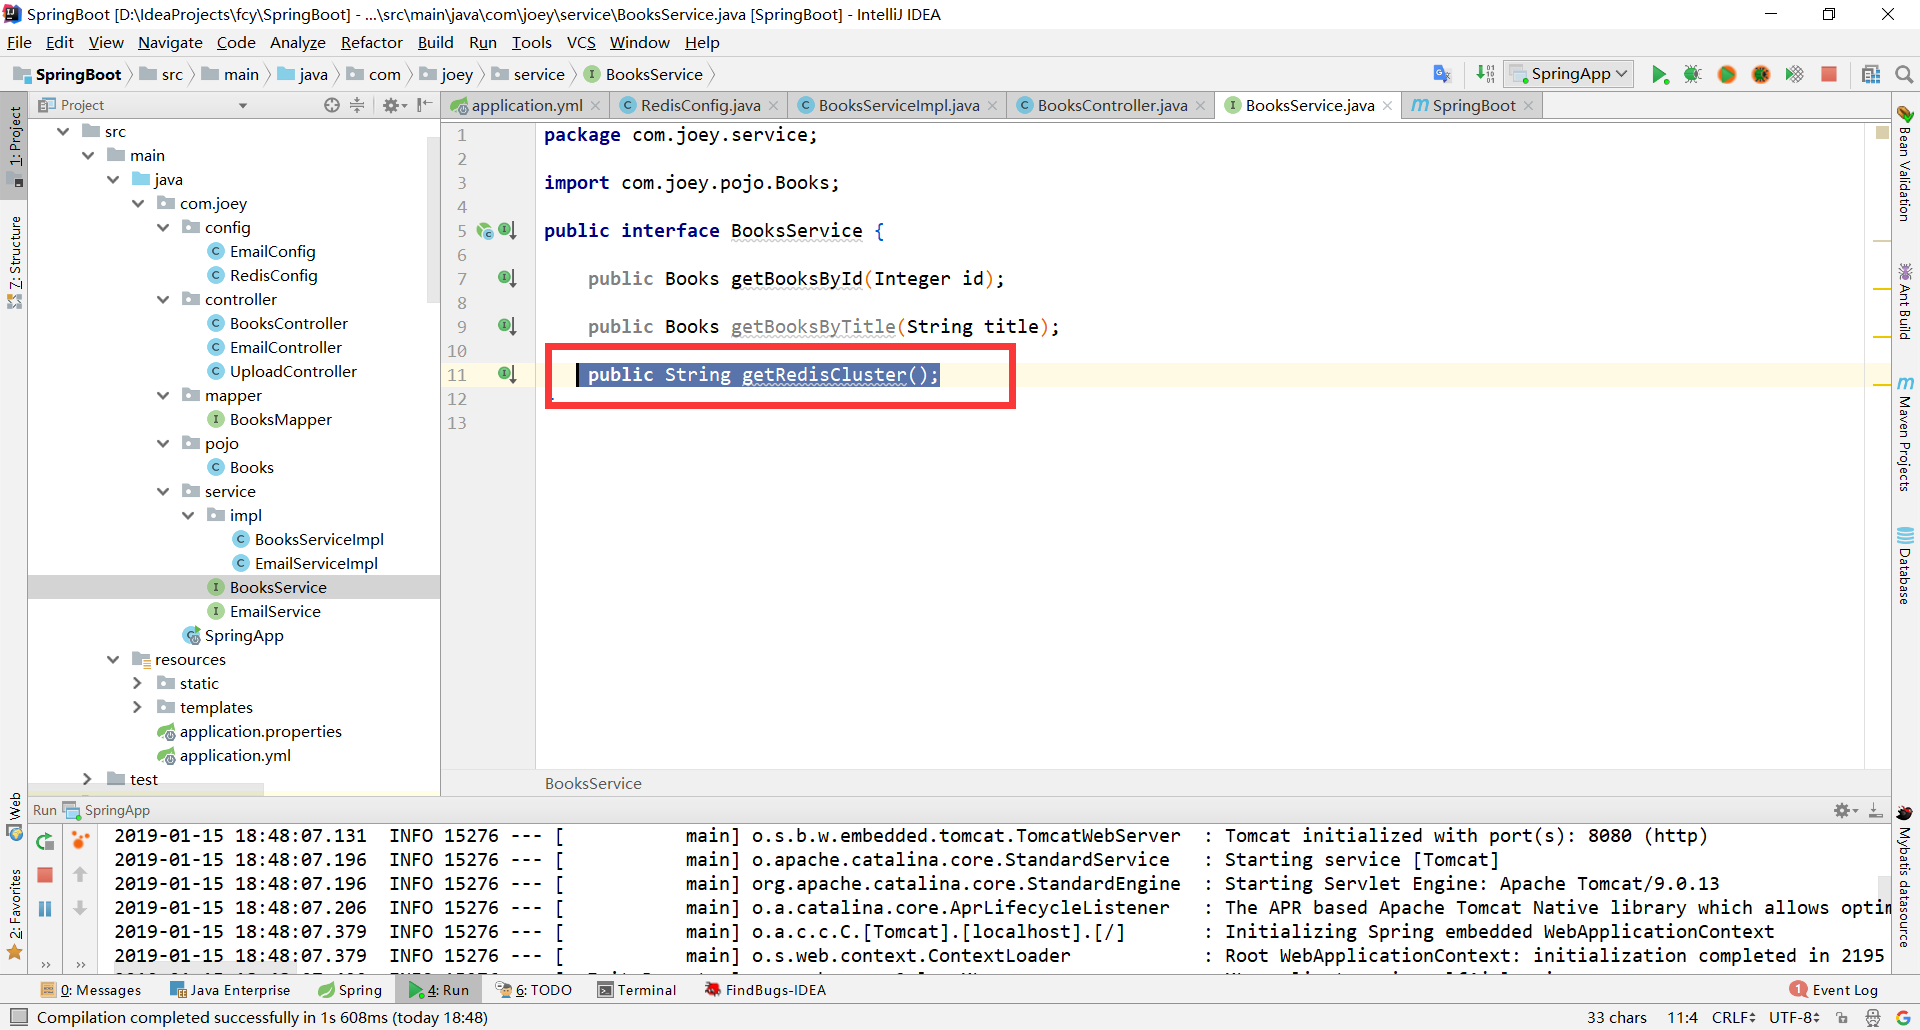
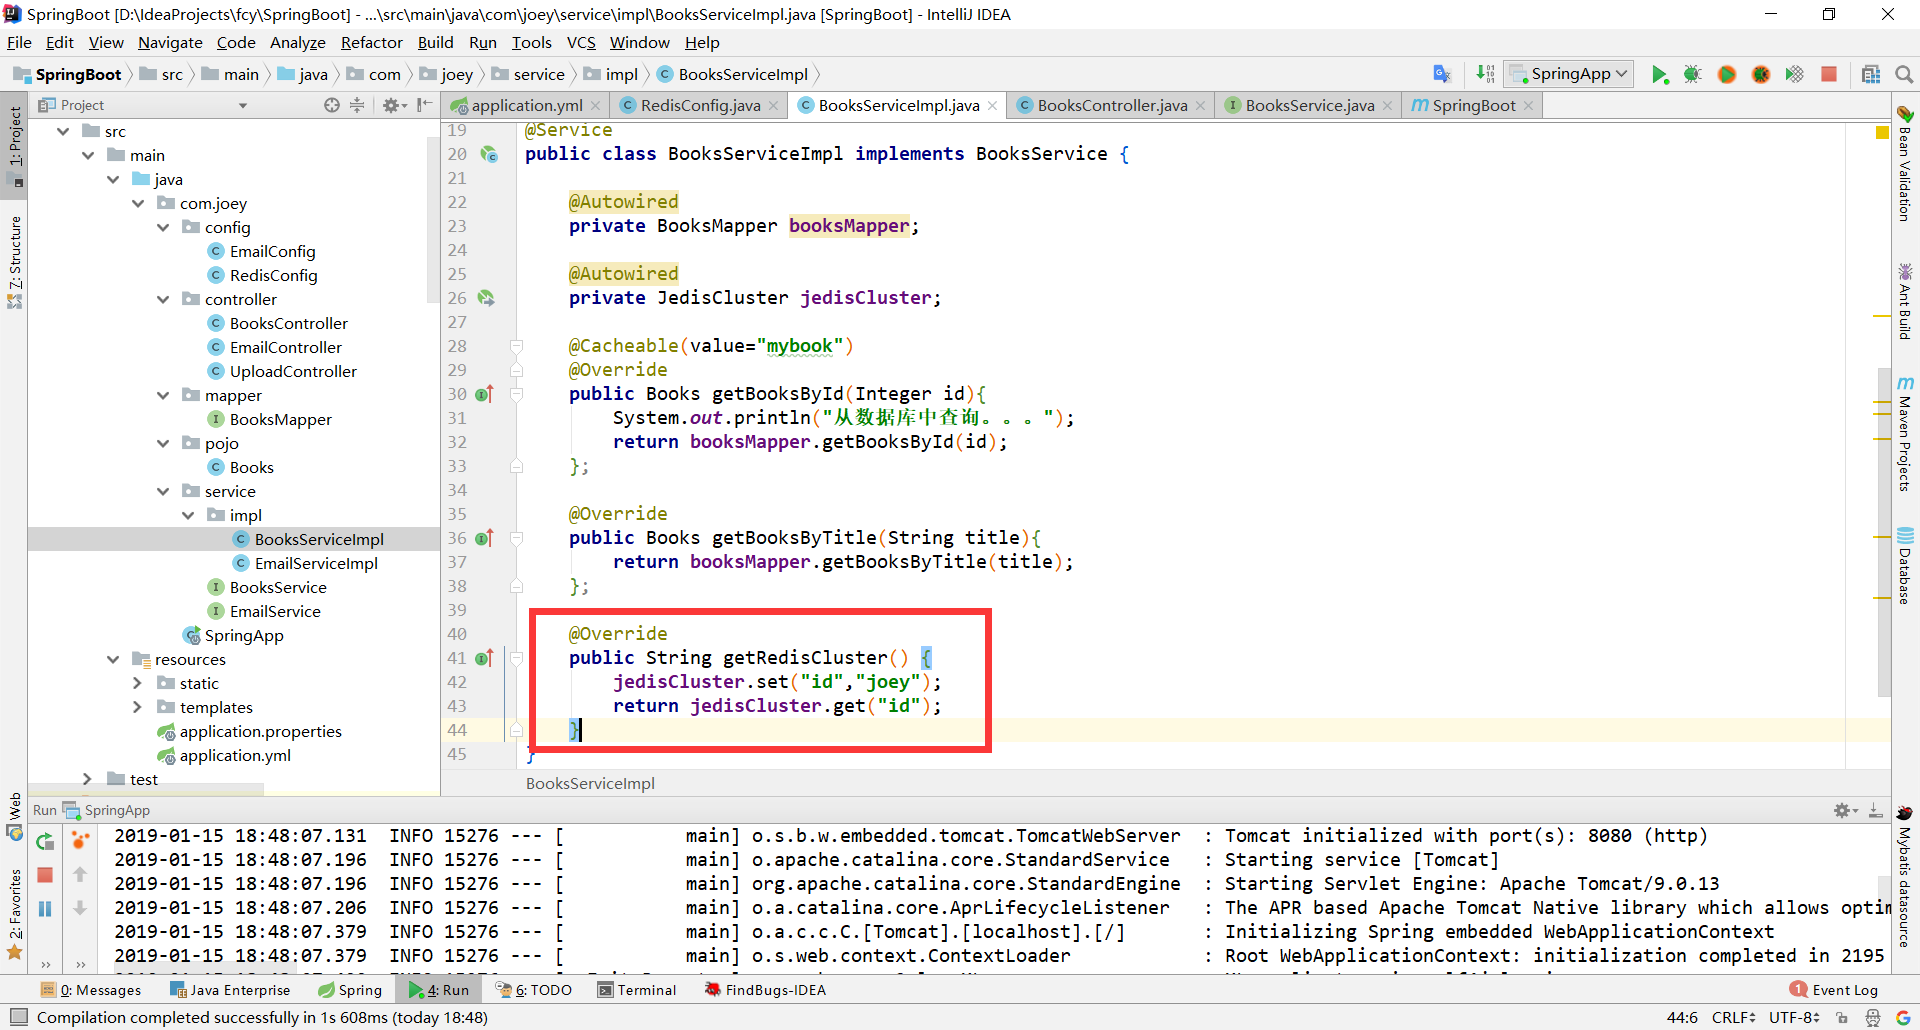
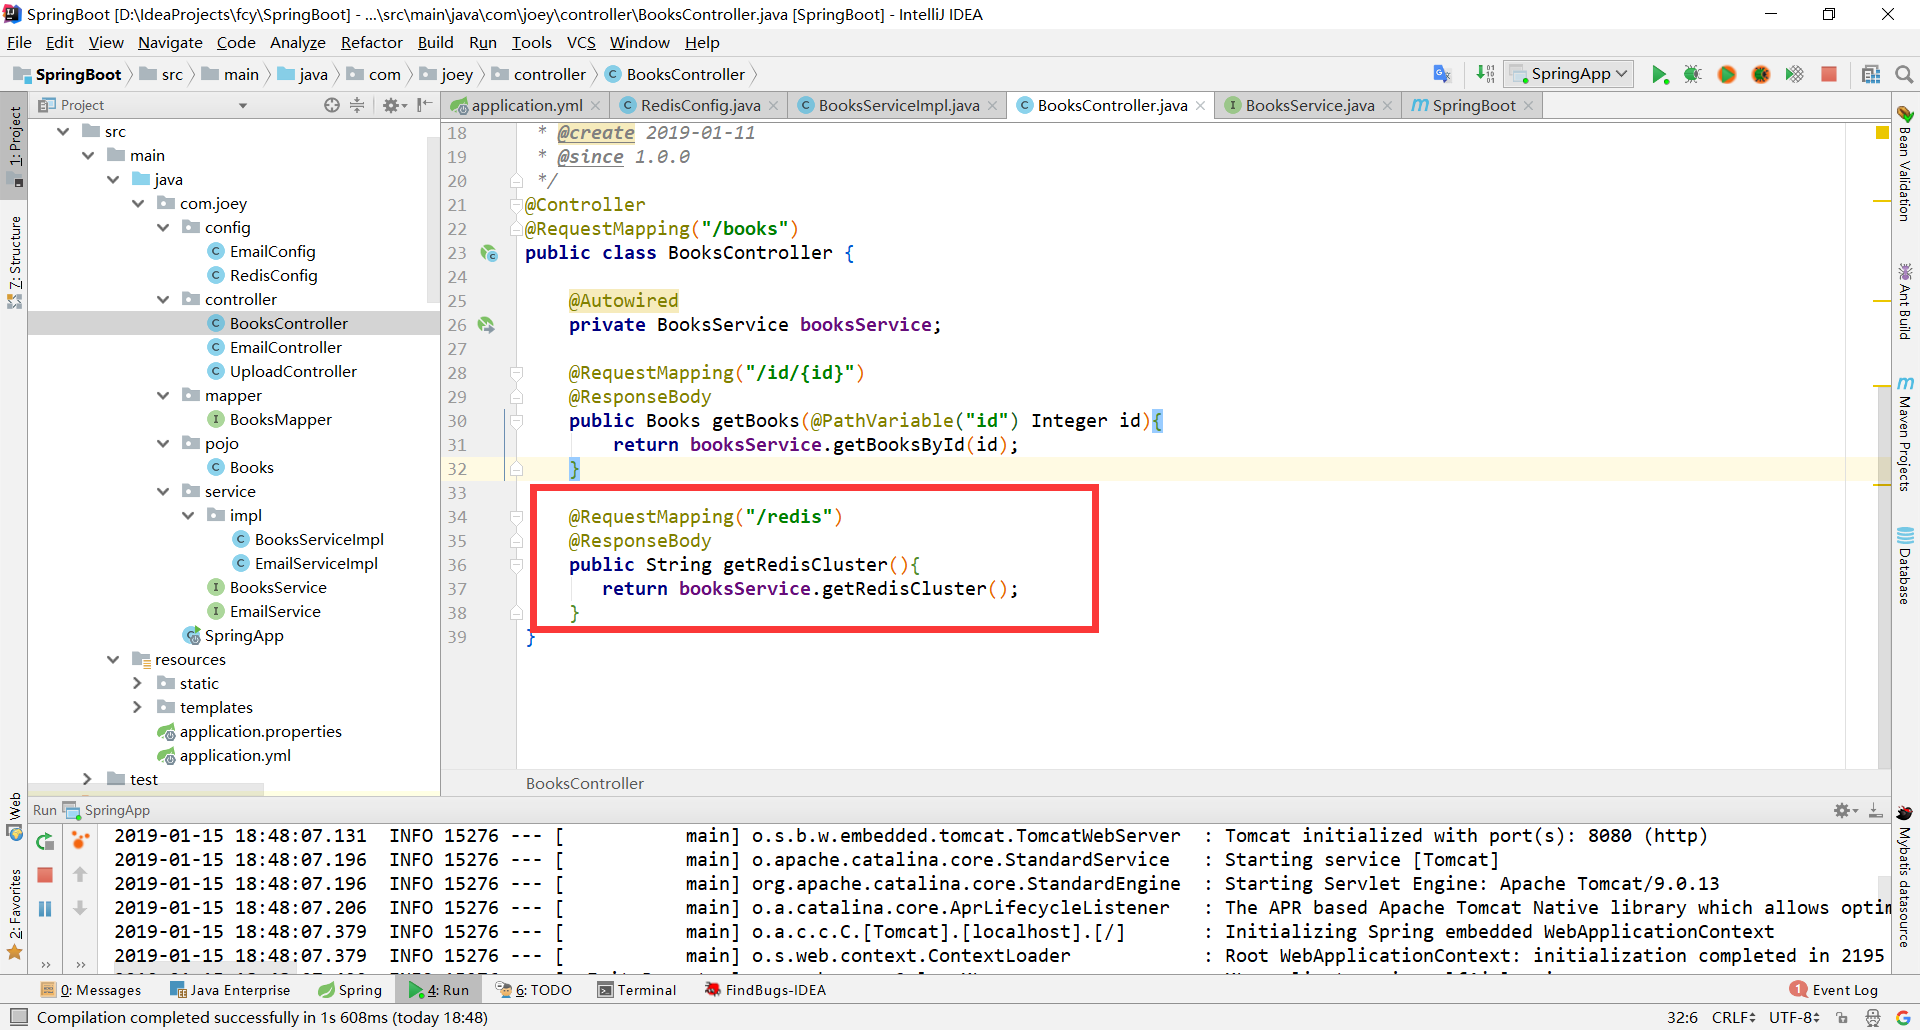
编写Service接口类,实现类以及Controller类
(1). 接口类
(2). 实现类
(3). Controller类
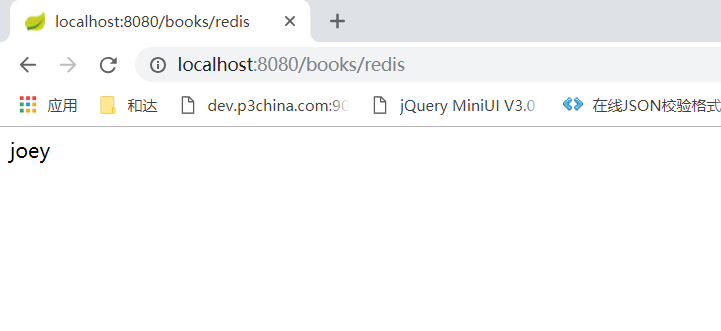
- 浏览器访问
本博客所有文章除特别声明外,均采用 CC BY-NC-SA 4.0 许可协议。转载请注明来自 Joey!
